Getting started
Validate your Astro project, download Solo after purchase, and generate your first render pack in a few minutes.
Prerequisites
- Node.js 18 or later
- An Astro project (see the Solo contract for compatibility requirements)
- A Frontmatter Solo license — get Solo for $49
npx @withfrontmatter/solo-check first — it's free and validates your project against the Solo contract without requiring a purchase. See solo-check docs.
Step 1 — Validate your project for free
Before buying or downloading Solo, validate that your Astro project meets the Solo contract:
npx @withfrontmatter/solo-check --root .
If the validator exits 0, your project is ready for Solo. If it exits 1, fix the reported errors first. See the error codes reference for details on each diagnostic.
Step 2 — Purchase and download Solo
After purchase, you'll receive your downloads via Polar.
There are two package types:
frontmatter-solo/— the CLI package for terminal usageFrontmatter Solo_*.dmg— the macOS desktop app for users who prefer a UI
The CLI package contains the bundled Solo runtime:
frontmatter-solo/
├─ bin/
├─ dist/
├─ starter-solo/
├─ README_SOLO.md
└─ VERSION
Run the packaged CLI directly:
./bin/frontmatter solo:validate --root ./starter-solo
If you want to call frontmatter without the ./bin/ prefix, add the package bin/ directory to your PATH:
export PATH="$PWD/bin:$PATH"
frontmatter solo:validate --root ./starter-solo
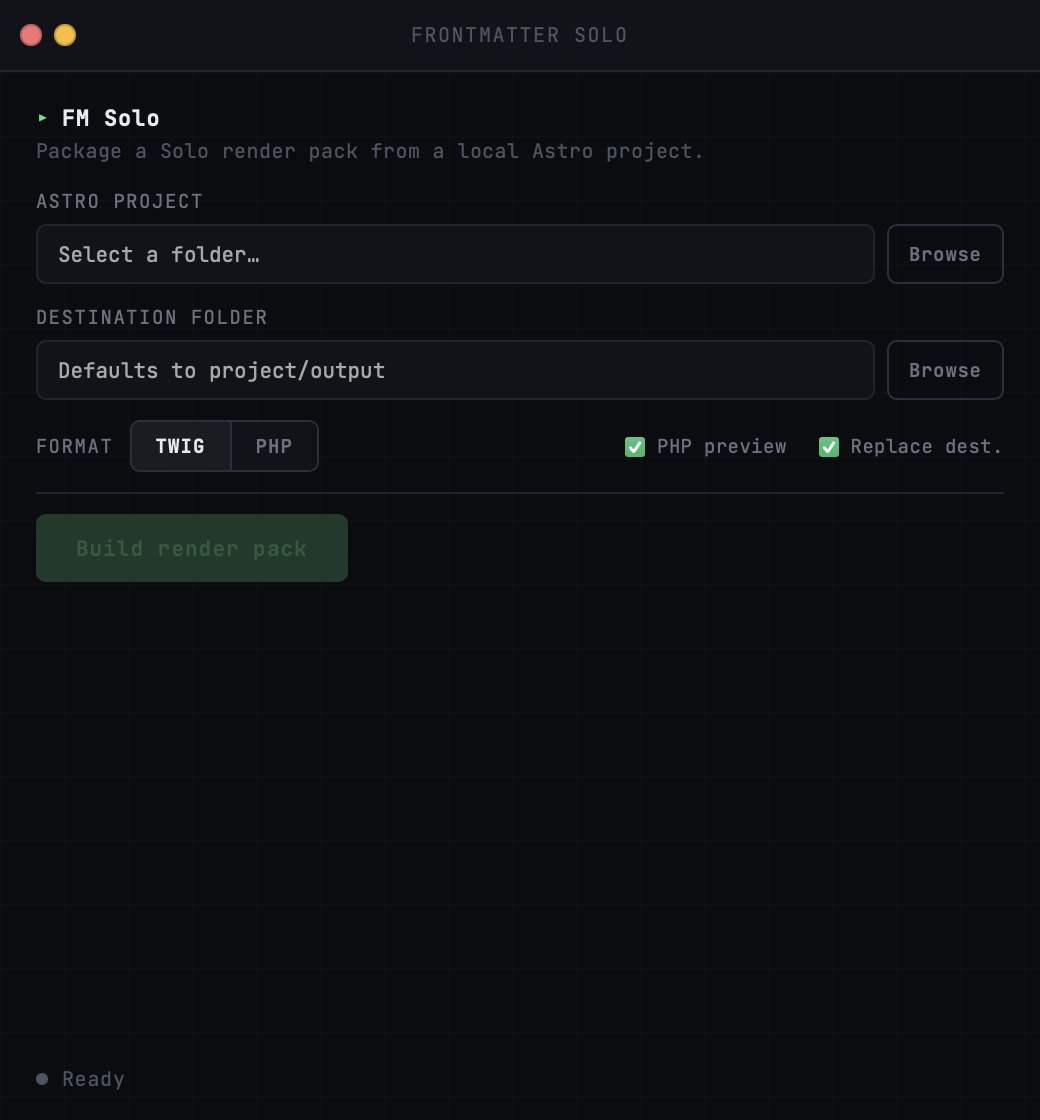
The desktop app uses the same bundled Solo runtime, but wraps it in a local UI. The current desktop build targets macOS 12+ on Apple Silicon.
xattr -dr com.apple.quarantine "/Applications/Frontmatter Solo.app"
✓ Command copied
Step 3 — Validate with the paid CLI
The bundled Solo CLI runs the same validation contract as solo-check:
./bin/frontmatter solo:validate --root ./your-project
You can also display the built-in AI workflow guide:
./bin/frontmatter solo:validate --help-ai
Step 4 — Generate the render pack
Run the build with your chosen adapter:
# Twig output (Symfony, Drupal, Craft)
./bin/frontmatter solo:build --adapter twig

# PHP output (WordPress, custom CMS)
./bin/frontmatter solo:build --adapter php
By default, output goes to ./output. Specify a different path with --out:
./bin/frontmatter solo:build --adapter twig --out ./render-pack
Step 5 — Review the output
After a successful build, your output directory contains:
output/
├─ pages/
├─ layouts/
├─ partials/
├─ manifest.json
├─ INTEGRATION.md
├─ frontmatter.build.json
└─ preview-php/           ← only with --emit-preview
Open INTEGRATION.md first — it documents every variable expected by every template, organized by page. This is the file you hand to your backend developer.
Step 6 — Preview locally (optional)
Add --emit-preview to generate a local PHP preview of the output:
./bin/frontmatter solo:build --adapter twig --emit-preview
The preview is dev-only and not intended for production. It demonstrates the template structure with stub data.
Exit codes
| Code | Meaning |
|---|---|
| 0 | Build successful |
| 1 | Validation or build error — check diagnostics |
| 2 | Bad CLI usage — check the CLI reference |
| 3 | Unexpected exception |